By far the biggest surprise Microsoft had in store with Windows 11 — besides Windows 11 itself existing — was that the OS would be able to run Android apps, thanks to a partnership with Amazon. In one fell swoop, Microsoft dramatically improved the utility of the oft-maligned Microsoft Store. There are some decent apps in the Microsoft Store, but there are simply way more Android apps to choose from.
And then — because nobody releases finished software these days — Microsoft announced the Android feature would arrive at a later date.
Four months later and that highly anticipated update is finally here, albeit limited to US customers at the time of publication. Here’s our guide to getting you set up with Android apps, whether you want to stick to the official method or you want to risk sideloading apps.
How to set up Android apps on Windows 11
Luckily, setting up Android compatibility is easy-peasy — if you’re only planning on trying officially-approved apps, anyway. First, let’s make sure your system is compatible. You will need at least:
- 8GB of RAM (16 GB is recommended).
- A minimum of an Intel Core i3 8th Gen, AMD Ryzen 3000, or Qualcomm Snapdragon 8c CPU.
- 720p (1280 x 720) display.
- An SSD; Android apps aren’t compatible with old school hard drives for some reason.
- Windows 11 build 22000.426 or higher.
- The latest version of the Microsoft Store.
If your hardware is compatible — most PCs that can run Windows 11 should be fine — then it’s just a matter of running Windows update to make sure you’re on the latest build of the OS and the Microsoft Store.
Once that’s in order, simply head on over to the Microsoft Store, search for ‘Amazon Appstore Preview’ and install the software. This will also install the Windows Subsystem for Android (WSA), the behind-the-scenes engine (powered by Intel Bridge technology) that allows all sorts of Android apps to run on Windows 11 relatively smoothly.
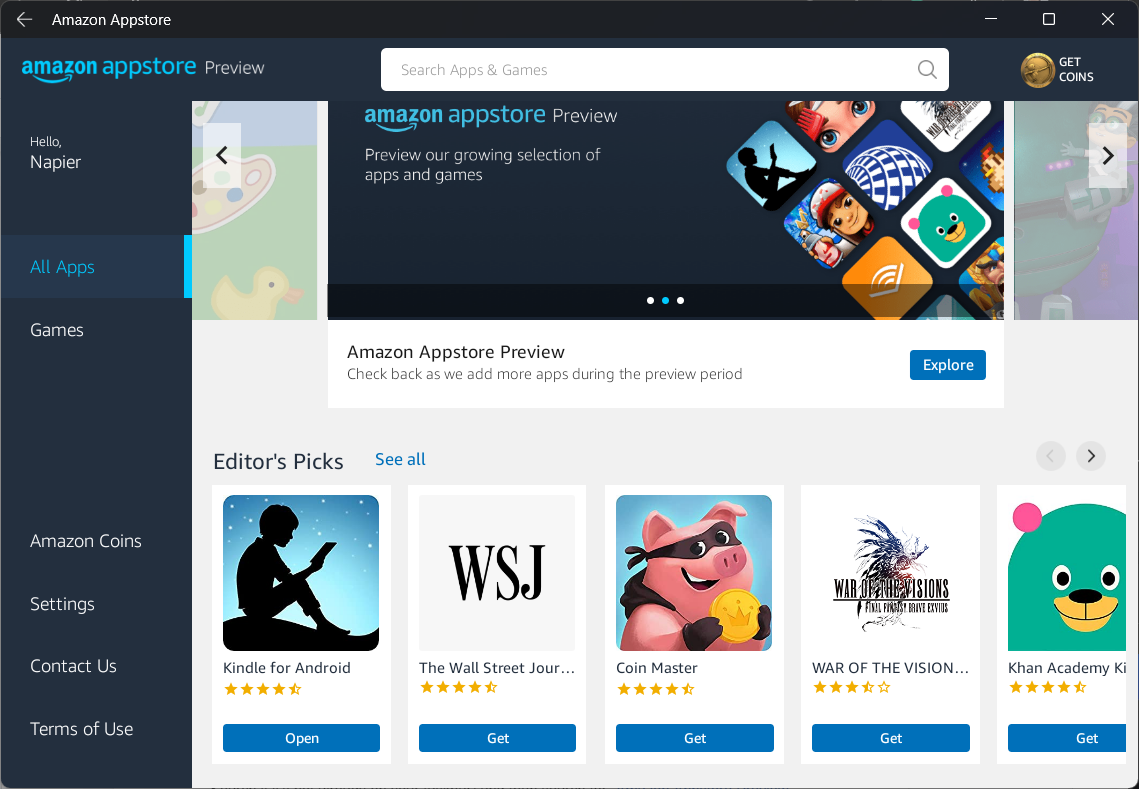

Then simply search for ‘Amazon Appstore’ (that’s not a typo, it’s just Amazon’s edgy spelling) in your Start menu, open the app, and log in with (or create) your Amazon account. You’ll see a curated selection of apps to choose from. The Amazon Appstore currently only offers about 1,000 apps and games — most of them rather basic — but more are being added all the time.
How do Android apps compare to Windows apps?
Other than a different aesthetic, Android apps pretty much behave like any regular Windows app. They will show up in your Start menu, and they can be pinned there or your taskbar as well. You can generally use your mouse, keyboard, and/or touch input to interact with the apps. They can also usually be resized at will, although you should keep in mind many Android apps are not optimized for use in landscape mode.
The main difference you’ll notice is that when you open an Android app, you’ll have to wait for the Windows Subsystem for Android to load first, which can be a little slow.
If you expect to be running Android apps often, you can head over to Windows Subsystem for Android Settings from the Start menu, and under the section dubbed ‘Subsystem resources,’ select the ‘Continuous’ option.
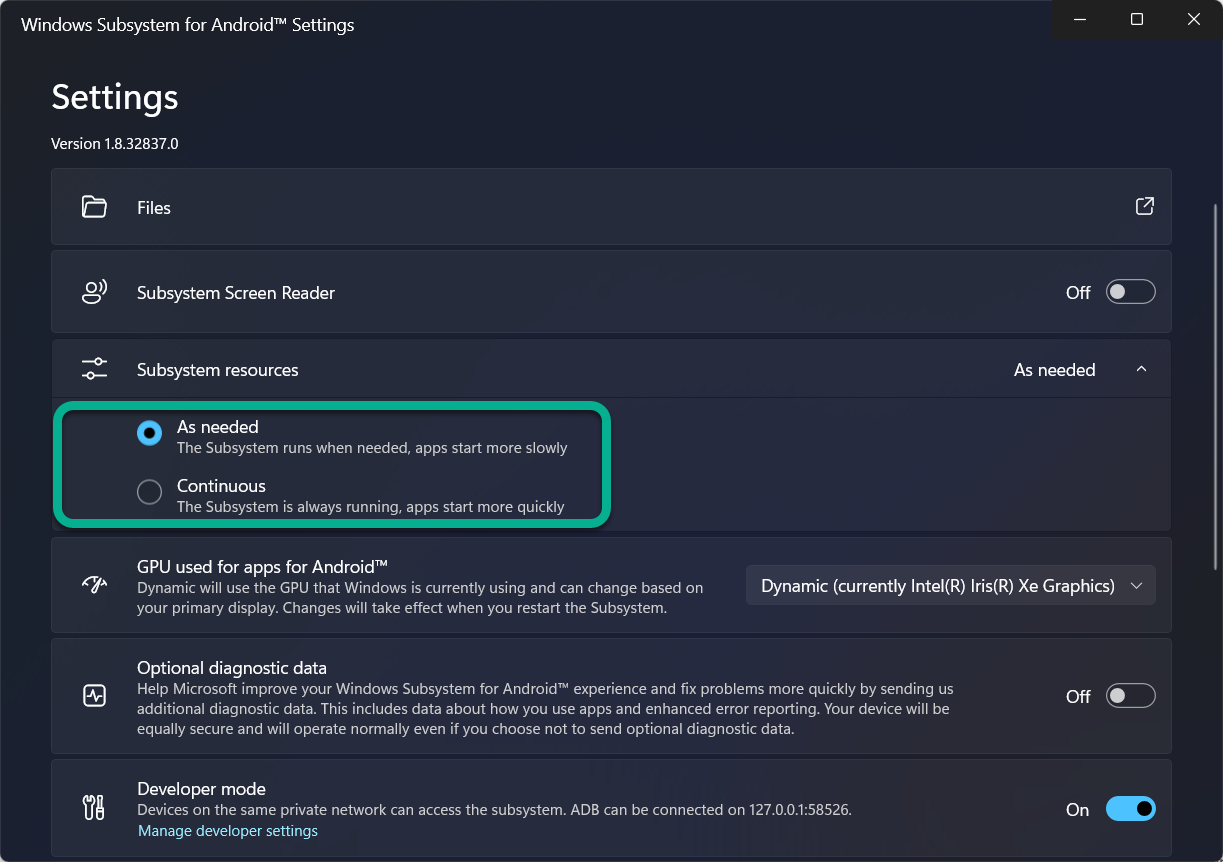

This will keep WSA running in the background so your apps load instantly. This could presumably cause a performance hit on your PC, but I haven’t personally noticed any issues so far.
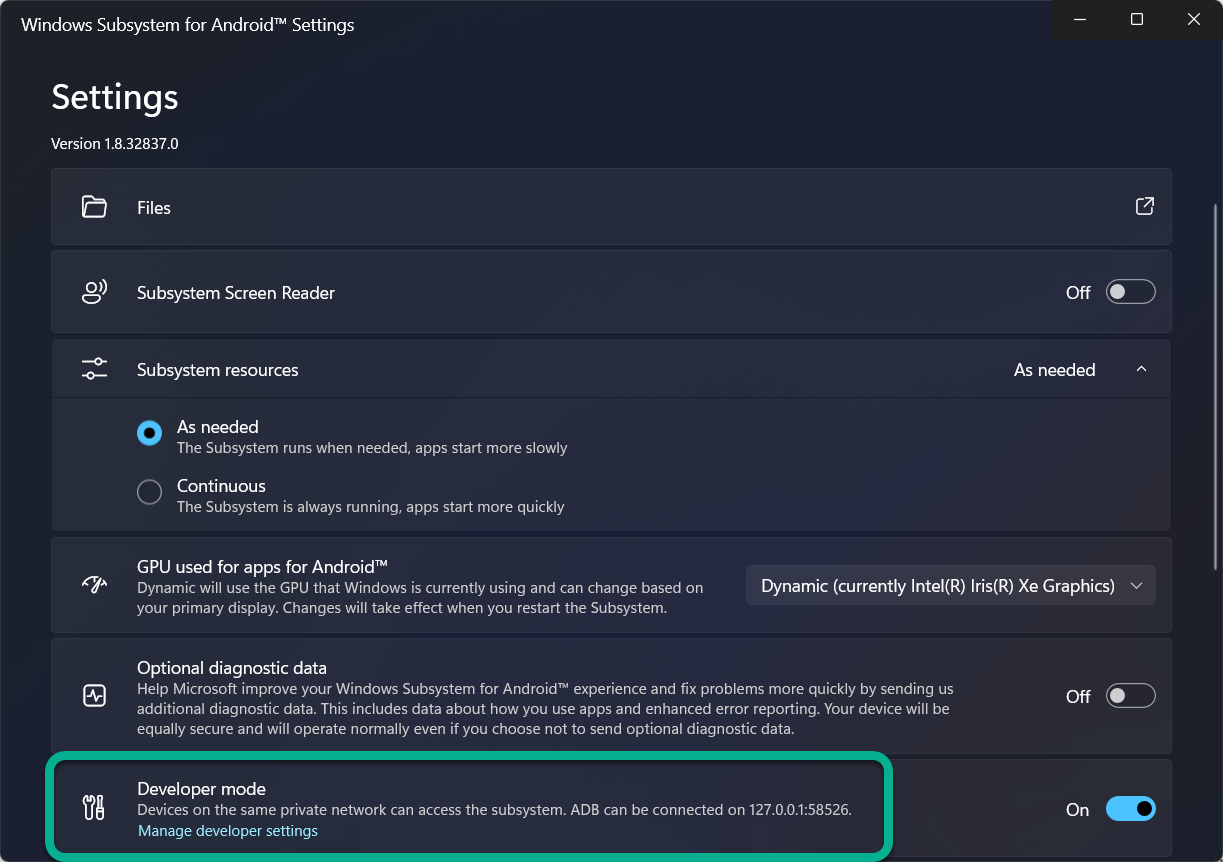
You can also use the settings menu to view files associated with or downloaded by Android apps, choose which GPU you’d like to power graphics, and enable developer mode — necessary if you plan on sideloading apps (more on that below).
What about installing apps that aren’t on the Amazon Appstore?
Unfortunately, most of the officially-sanctioned apps are not very exciting, and as Google seemingly wasn’t involved in creating this new feature, you won’t find anything that relies upon Google services (Google is currently working on its own method of bringing Android games to Windows, but there’s no word on other kinds of apps).
Although we recommend most people stick to the official way of getting Android apps, the WSA means you can run all sorts of apps on Windows 11. You will have to use some elbow grease, and anything that requires Google services won’t work without extensive workarounds. But many have successfully sideloaded a variety of unapproved Android apps onto Windows.
Needless to say, you should exercise an abundance of caution when sideloading apps. There’s a good chance the app you’re trying to sideload will either act wonky or won’t work at all.
With that disclaimer out of the way, there are many ways you could go about sideloading Android apps, but I’m going to focus on the easiest method I know.
First things first, make sure you’ve enabled Developer Mode in WSA Settings, as noted in the earlier section.

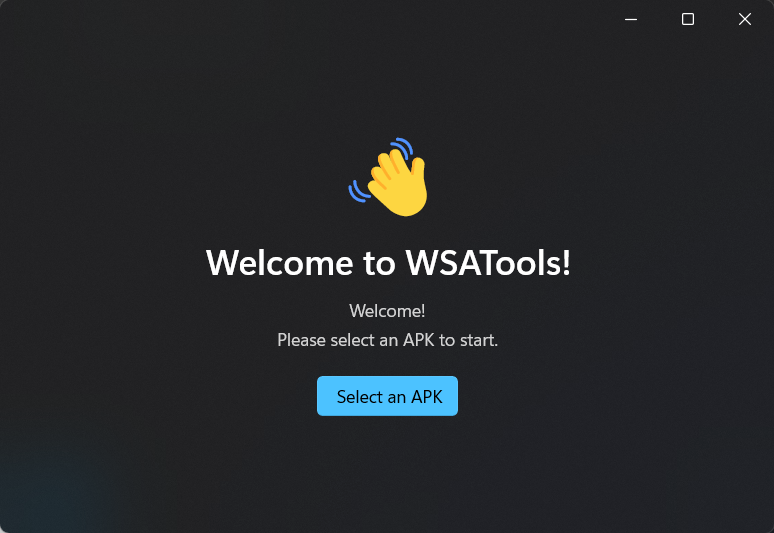
Once that’s done, install WSATools from the Microsoft Store. This app does two things. First, it installs the Android Debug Bridge (part of Google’s official developer toolkit), which is required for sideloading apps.
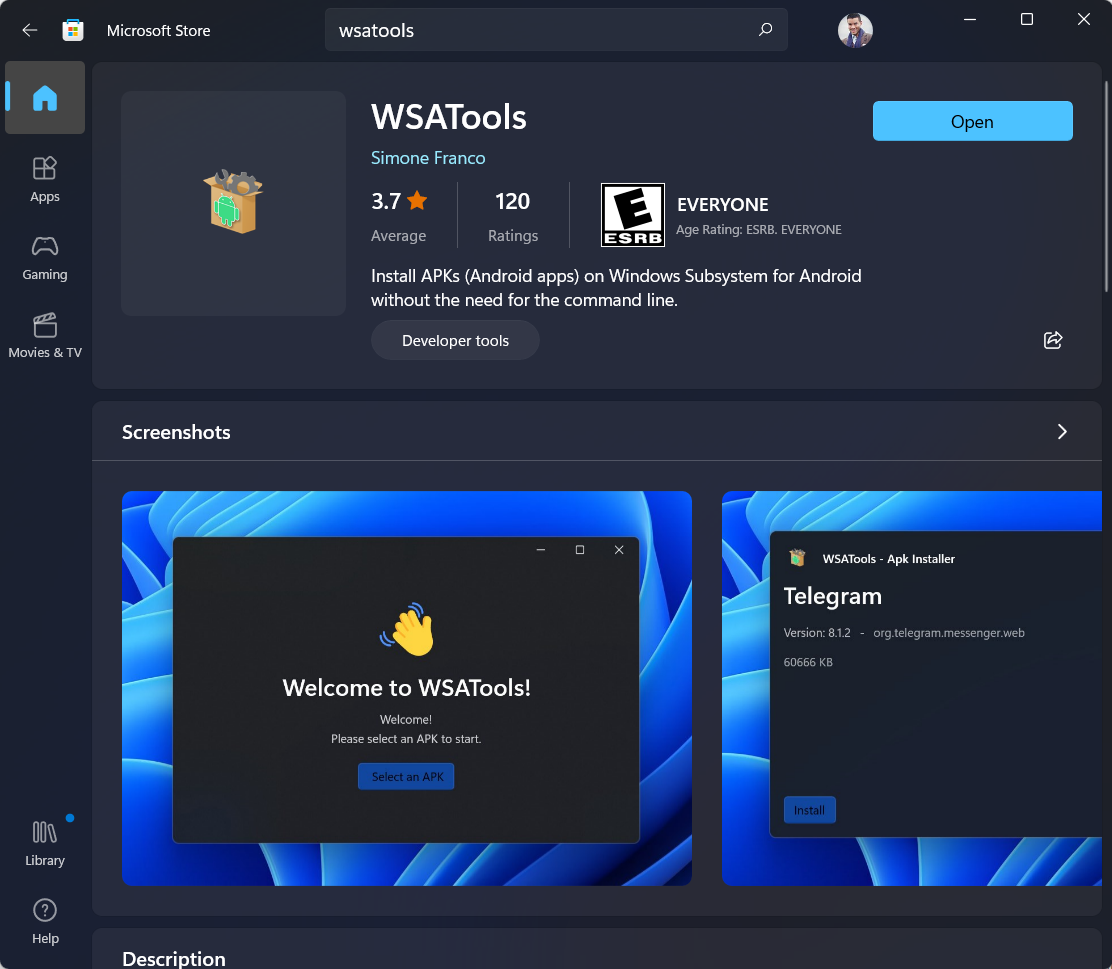

Note that a few users have reported having trouble installing ADB from WSATools, in which case you can download it manually from Google. You can then point WSATools to wherever you extract the “platform-tools” folder from Google.
Second, it allows you to install Android apps (.apk files) with one click — no need to mess with the command line. You can find APKs for thousands of apps on sites like APKMirror and APKPure.
Once ADB is set up, simply point WSA Tools to your APK file, and it should install right away.

If for whatever reason WSATools isn’t able to install the APK you could try a similar app from the Windows Store. Or, you could just do it the pro way if you’re comfortable with Command Prompt — XDA has a great guide on how to sideload apps via ADB here.
Hopefully sideloading won’t be necessary much longer, as more developers will place their Android apps in the Amazon Appstore over the coming months now that the feature is open to the public. But in the meantime, this guide should help get you started.
