

Locking cells in a Microsoft Excel spreadsheet is a super useful thing to know how to do. It’s used to protect a certain segment or an entire worksheet from being modified by anyone other than the spreadsheet’s creator.
For example, if you’re an employer and you use Microsoft Excel to create a spreadsheet with multiple drop-down lists for applicants, locking cells will prevent recipients of that form from tampering with any of the data.
Here’s a guide on how to lock cells in Excel.
Locking individual or multiple cells
Step 1: An Excel spreadsheet might already be locked. Therefore, to lock individual or multiple cells, you’ll have to unlock the spreadsheet first. To do this, click the Green Diagonal button on the top-left side of the first cell.

Step 2: Right-click your mouse and select the Format Cells option from the menu.

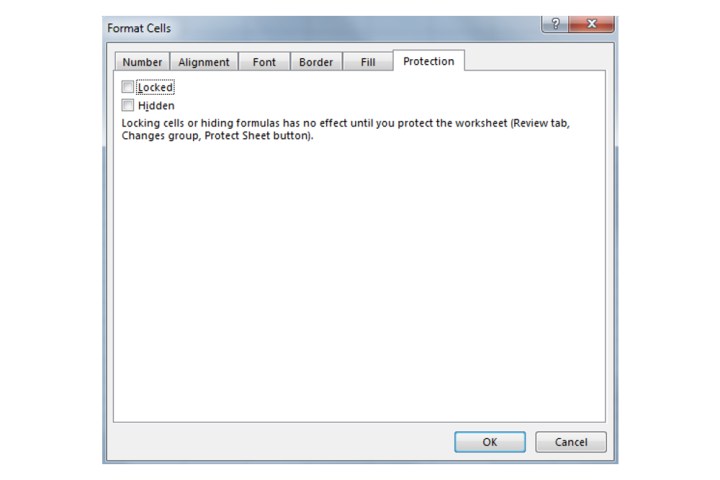
Step 3: Select the Protection tab and unselect the Locked button. Click OK.
Step 4: Now choose what cells you want to lock by clicking on them. You can select a single cell, multiple cells, a row, or an entire column.
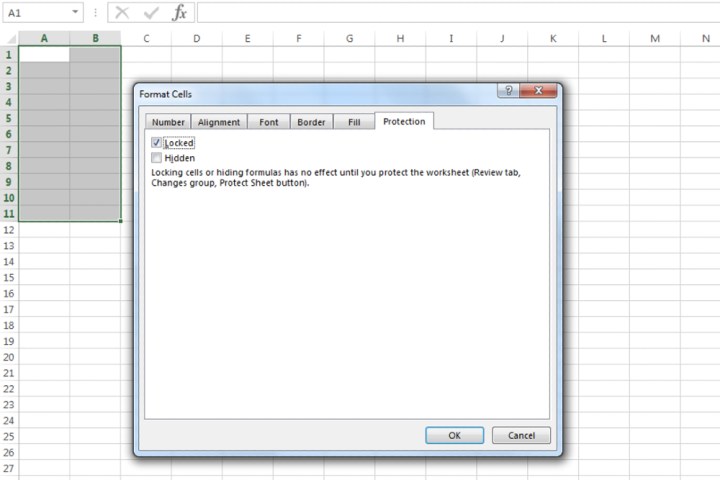
Step 5: Within the selected cell or cells, right-click and choose Format Cells.
Step 6: Navigate to the Protection tab again, select the Locked box, and then click OK.
Step 7: In order to confirm the locking of cells, click the Review tab. Now click the Protect Sheet option.
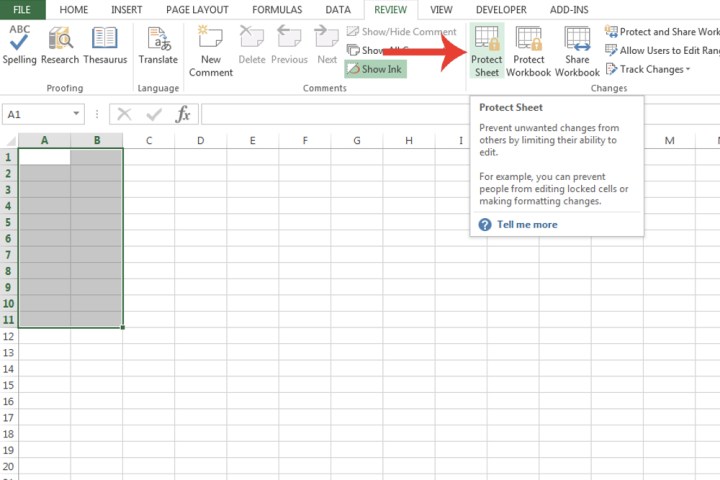
Step 8: Choose what sort of protection you want from all the options shown. By default, the Select Locked Cells and Select Unlocked Cells fields are already ticked. You can also input a password for further protection. Click OK.
The cells you’ve chosen will now be locked.

Locking an entire spreadsheet
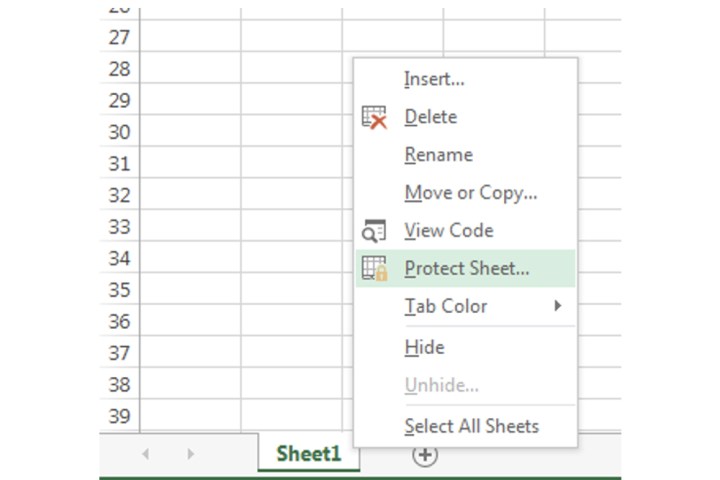
Step 1: At the bottom of Microsoft Excel, right-click the spreadsheet you want to lock.
Step 2: Select the Protect Sheet option. As explained in step 8, customize the different types of protection you want to apply to the spreadsheet, then click OK. As we mentioned in step 1, Microsoft already locks an Excel spreadsheet, so you won’t need to take the steps to do so yourself.
Now you know how to lock and unlock cells and your Excel spreadsheet, you can retain better control over your data and avoid mistakes with entry.
Excel spreadsheets are considerably flexible, which makes the software suitable for all manner of purposes. If you know how to merge and unmerge cells in Microsoft Excel, you can use it for just about anything.
Services Marketplace – Listings, Bookings & Reviews