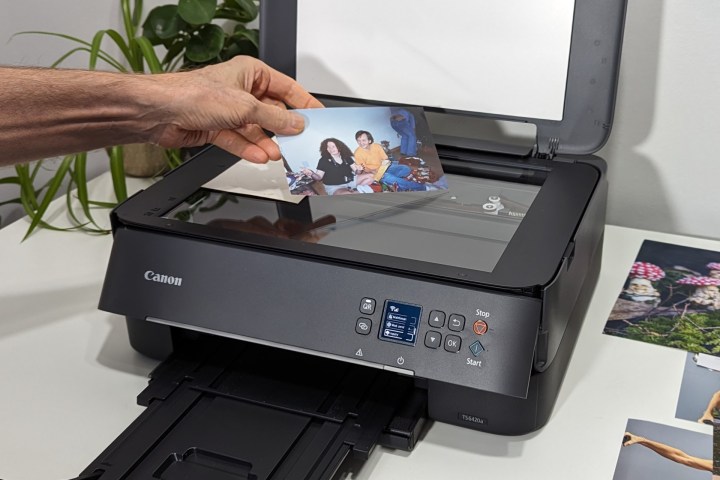

The most popular printers tend to be all-in-one models that include the ability to scan documents and make copies. Some multifunction printers can even connect to a phone line to send and receive faxes. The original purpose of a scanner, however, is to digitize a photo or document so it can be used on a computer.
With a high-resolution image, it’s easy to zoom, crop, and clean up pictures with a variety of advanced photo editors. You can even use AI to enhance an old photo after scanning from your printer to a computer. Here’s the whole process for Windows and Mac computers.
Set up the scanner
You need to set up your all-in-one printer and connect it to your computer, of course. Depending on the model, you might connect via Wi-Fi, USB, or Ethernet. You should be able to scan with any of these methods.
If you use a Windows PC, installing a printer is simple. Most Wi-Fi printers and scanners are automatically detected by the computer and work without installing drivers. The process hasn’t changed in several years, but if you need help, we do have a guide that gives step-by-step directions showing how to set up a printer in Windows.
Setting up a printer for macOS is easy, but there are enough little details that our guide to adding a printer to a Mac is quite helpful.
It’s a good idea to set your new all-in-one as the default printer since that avoids sending print jobs to your old printer, which you might have disconnected.
Windows PCs and Mac computers include free apps that can control the most basic features of scanners to digitize documents and photos. If those apps don’t meet your needs, the best printer brands offer good support with additional software to get the most from these devices.
The manufacturer’s scanning app will provide the most control of the device’s unique capabilities. Additional features like optical character recognition (OCR) and automatic cropping of multiple photos could speed up your workflow and make your life easier.
Use Windows built-in Scan app
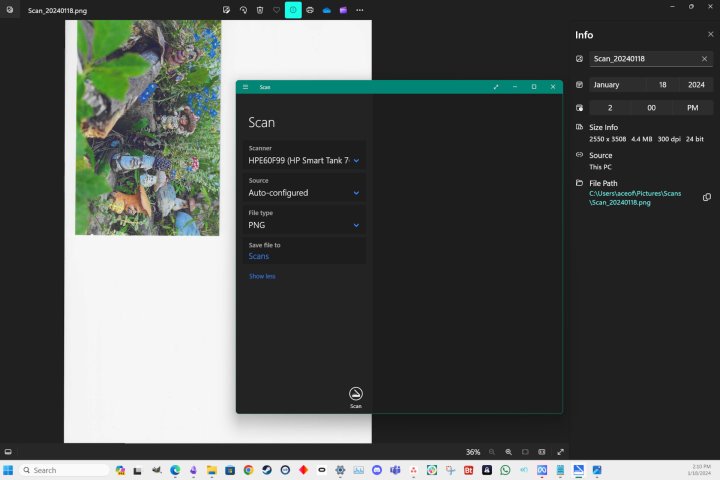
The easiest way to scan to a Windows computer is by using the Scan app that’s usually preinstalled with the operating system. If you don’t have Windows Scan, you can download it from the Windows Store.
When you open the app, it searches for connected scanners, and the simple, one-button interface makes it easy to capture an image. The menus at the top left let you choose another connected scanner, select your all-in-one printer’s flatbed or automatic document feeder, and pick the file type to save.
PNG is the default since it preserves the full quality of the scan while reducing file size. If you plan to upload, message, or email the scan, JPEG captures good quality in a compressed file that’s much smaller. Windows Scan includes TIFF and Bitmap (BMP) formats, but unless you specifically need that file type, you shouldn’t pick those legacy formats since they aren’t as efficient as PNG.
The simplicity of Windows Scan is nice, but it’s limited to 300 dots-per-inch (dpi) scanning. That might not give you the best results when scanning photographs or documents with fine print. If your all-in-one printer supports higher-resolution scanning or if you want more options, you should use your printer manufacturer’s scanner app.
Use the Mac’s Image Capture app
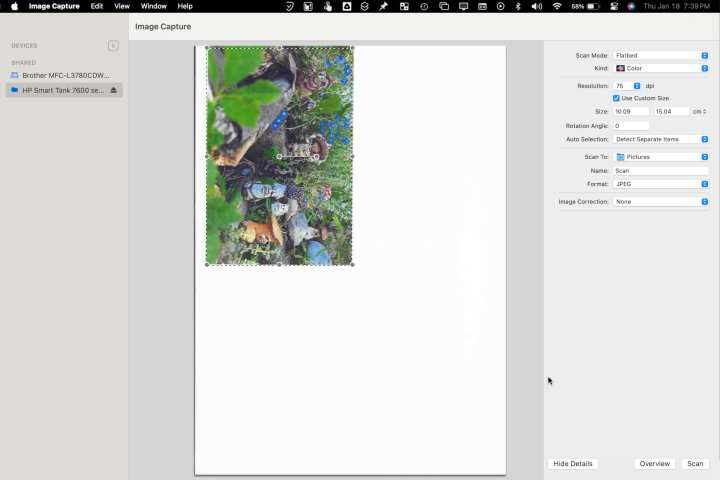
Apple includes an app that can connect to your iPhone, iPad, or a digital camera to import files or operate your scanner to digitize documents and photos as images on your Mac. Search for Image Capture using one of the Mac’s best keyboard shortcuts, Command + space, or find it in the Launchpad.
Select your scanner in the left sidebar, then choose options from the right side. For most scanners, you can pick the size, resolution, image format, and folder you want to scan to. The options vary depending on the printer and how well macOS identifies it.
PNG is a lossless file format with a relatively small file size. For the most efficiency, pick the Mac’s native image format, HEIC, which is better than JPEG at preserving quality. If you are sharing the image with Windows users, JPEG is the best option for smaller file sizes and good quality.
The Overview button does a quick, low-resolution scan as a preview of the image. If everything looks OK, select Scan to digitize and save the image in the selected folder.
For more options, you should get a scanner app made specifically for your brand and model of all-in-one printer.
Install the manufacturer’s scanning app
The manufacturer’s scanning app will provide the best quality, most control, and additional features. With fast internet, it only takes a couple of minutes to download and install.
You’ll need to know your printer’s brand and model to get the right scanner app. Once you have that information, you can visit the manufacturer’s website, search for the compatible software, and install the appropriate scanner app.
HP printer apps, drivers, and firmware
Epson utilities, drivers, and firmware
Brother utilities, drivers, firmware, and management tool
If you have a printer from another manufacturer, check the company website for a support or help section. Downloads are usually found there. If you can’t find what you need, contact support to get further assistance.
Editors’ Recommendations
Services Marketplace – Listings, Bookings & Reviews