When you install a new SSD and it doesn’t show up in Windows, it can be particularly frustrating; Especially if it’s a new boot drive and you just want to start installing your operating system. Fortunately, as long as the drive is working correctly, getting it recognized by Windows is relatively straightforward.
Here are the best ways to get your SSD to show up in Windows.
Check that it’s installed properly
I know, you know what you’re doing, but just do this one for me, OK? We’ve all forgotten to plug in a SATA cable, or not quite mounted an NVMe SSD correctly. There’s no shame in it.
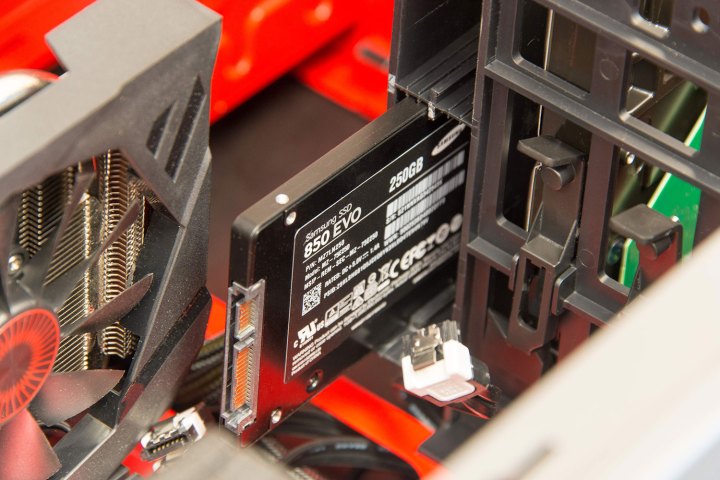
Step 1: If you are installing a SATA SSD, check that the SATA cable is connected properly to the drive and your motherboard, and that the drive has a SATA power connector that runs through to your power supply. If in doubt, unplug the connections and plug them in again.
If you’re installing an NVMe SSD, make sure that the slot you’re installing it in supports that size and type of drive — though older PCI Express generations should support newer ones, but at slower speeds.
Step 2: If you suspect this is the problem, you can also try mounting a drive in a different slot on the motherboard, and use a different cable in the case of SATA drives.

Check your BIOS settings
It may be that your PC isn’t set up to recognize new SSDs. Checking the UEFI/BIOS can be a good way to make sure.
Step 1: Reboot or start up your PC and use your motherboard’s special key to open the UEFI/BIOS. For many, it will be F2 or Del, but it can be any range of buttons. Check your manual or the manufacturer website if you’re unsure.
Step 2: Look for a section about storage, or configuration — it will vary dramatically from BIOS to BIOS. Again, look to your manual or manufacturer website for help navigating your system’s BIOS.
Step 3: If you’re running an older SATA SSD, make sure that the SATA Configuration is set to AHCI. Alternatively, if you have trouble with this mode not recognizing your SSD, you can try setting it to IDE or Compatibility mode to see if that fixes things.
Step 4: In some older motherboards, certain SATA ports may need to be enabled in the BIOS. Look for any indication that this may be the case on yours and, if necessary, enable the relevant SSD ports.
Initialize the drive
Sometimes a new drive won’t be recognized by Windows until you initialize it.
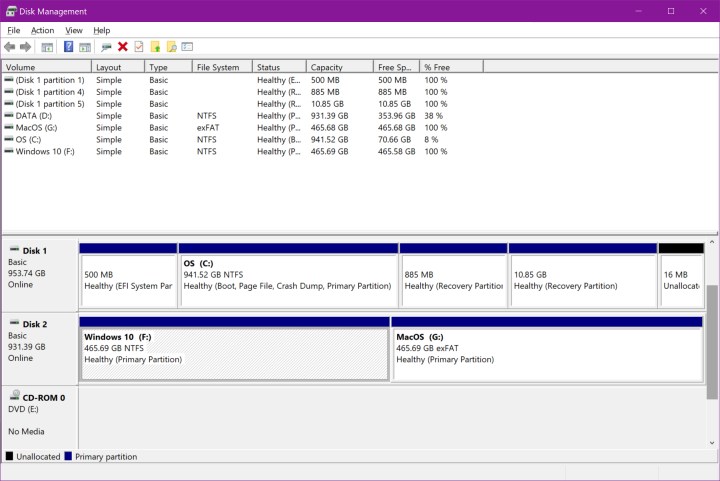
Step 1: Select Windows Key + X, and select Disk management from the list,
Step 2: Locate your new drive. You can search for it by drive letter if you know what it should be, but looking at the capacities can help too.
In reality, though, if your new drive isn’t initialized, it will have a black bar along the top of its unallocated space, and will have a small red circle icon next to the drive name.
Step 3: Right-click the drive and select Initialize disk.
Step 4: Choose your preference for partition style, MBR or GPT. You almost certainly want GPT, but select whichever one is right for your needs, then select OK.
Step 5: Wait for the drive to finish initializing, then right-click on the unallocated space and select New simple volume, Follow the on-screen instructions to create it.
Step 6: Your drive should now have the space to install applications and store files and other data.

Change the drive letter
It’s possible that a conflict between drives has meant your new SSD can’t be recognized because it doesn’t have its own drive letter. We can change that with a simple fix.
Step 1: Press Windows Key + X, and select Disk management from the list,
Step 2: Right-click the SSD you want to change the drive letter for, and select Change Drive Letter and Paths.
Step 3: If your drive has a letter, select Change. If it doesn’t have one, select Add.
Step 4: Select a new drive letter from the drop-down menu. If your drive already had a letter, you may want to remove that too — though note that can cause problems with any existing apps or games on the drive.
Step 5: When you’re done adding, changing, or removing letters, select OK to finish. Then reboot your PC and see if the drive is recognized.

Format the drive
It may be that something with the drive’s setup is causing it to not be detected. Starting from scratch may be the best way forward.
Step 1: Choose Windows Key + X, and select Disk management from the list,
Step 2: Right-click the drive you are having trouble with, and select iFormat.
Step 3: Select the file system that you want to use (for most people, it will be NTFS), then choose the default allocation size unless you have a very good reason not to.
Step 4: Tick the box for a Quick format and press OK to begin.
Step 5: Wait for the format to finish, then reboot the PC and see if the drive is recognized.
If after all of the above, the drive is still not being recognized in Windows, you may be facing hardware problems. Try another drive and see if that works. If it does, you may need to replace the original. Here is our list of the best SSDs in 2023.
Editors’ Recommendations
Services Marketplace – Listings, Bookings & Reviews