I have good news and bad news about Apple’s new Face ID feature that was released as part of the developer beta for iOS 14.5 and watchOS 7.4.
The good news? You’ll soon be able to unlock your iPhone via Face ID while wearing a face mask. The bad news? It only works if you own an Apple Watch.
So if you have both of these devices, congrats — you can cross one first-world problem off of your list. And if you don’t, there are other workarounds, like simply typing in your passcode.
Here’s how to set up the new feature once the final versions of iOS and watchOS are released to the public.
1. Make sure your iPhone and Apple Watch are up to date
As of right now, the only way you can download iOS 14.5 and watchOS 7.4 is if you’re enrolled in the Apple Developer Program.
Otherwise, you’ll have to wait until Apple releases the public versions. The company remains tight-lipped on when that’ll actually be. But based on past developer beta and public release cycles, it’ll likely be a few months from now.
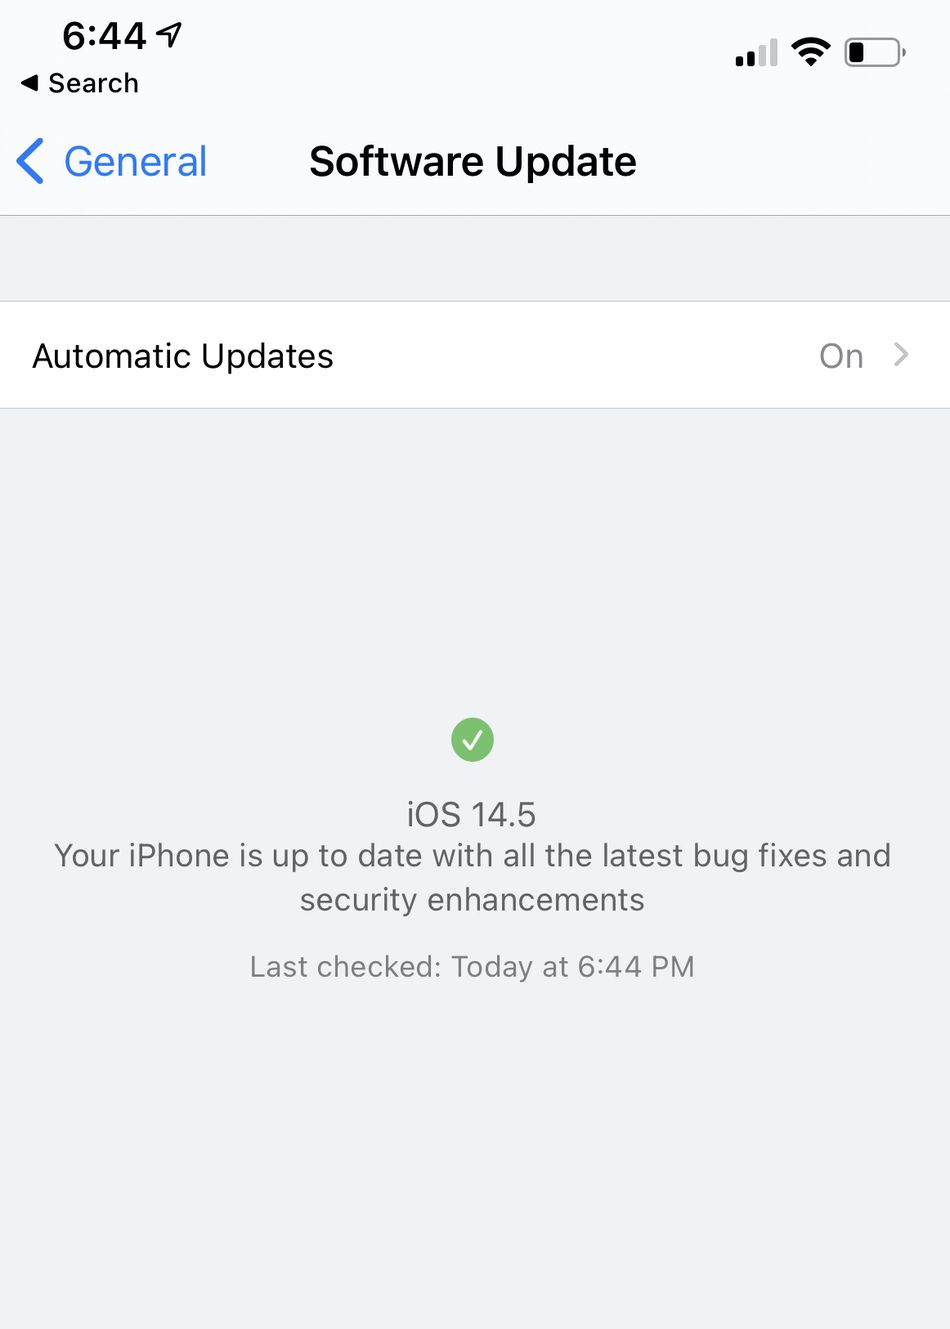
When it is released, open your iPhone, head to Settings > General > Software Update, and tap on iOS 14.5. Once that’s downloaded and installed on your phone, you can move on to updating your Apple Watch.

Don’t get too excited. This is part of the developer beta.
Image: screenshot / apple
With the Apple Watch, you have two options: You can either download it from the Watch app on your iPhone or right from your wrist on the Apple Watch.
iPhone
Go to the Watch app > General > Software Update and download watchOS 7.4.
Apple Watch
Head to Settings > General > Software Update and tap to install the new software.
2. Turn on the “Unlock with Apple Watch” feature
Once both of your devices are updated, you can turn the new feature on.
On your iPhone, go to Settings > Face ID & Passcode > Unlock with Apple Watch and toggle it on.

You’ll have to manually toggle the feature on via Settings.
Image: screenshot / apple

Once it’s turned on, it should work right away.
Image: screenshot / apple
There are also a few tweaks you’ll have to make (if you don’t already have these things turned on) to your Settings on the Apple Watch. Otherwise, the feature won’t work at all.
-
To enable a Passcode on your Apple Watch, go to Settings > Passcode > Turn Passcode on and type in your chosen code.
-
Make sure “Wrist Detection” is toggled on. It should turn on automatically when you set up your Passcode since it uses the feature to determine when to lock the Apple Watch. But it’s always good to double check.
3. Unlock your iPhone using your Apple Watch
Now, unlocking your iPhone using Face ID while wearing a face mask should be super simple.

FYI: This is a screenshot of a friend’s developer account. Sadly, I’m not creative enough to think of a name like this for my iPhone.
Image: screenshot / apple
As long as your Apple Watch is on your wrist, the iPhone will recognize it and immediately proceed to unlock. You’ll feel the Watch buzz on your wrist and a notification will appear on it letting you know the iPhone has been unlocked. A button to lock the iPhone will also appear underneath that notification.
As for those workarounds I mentioned before, you can do one of the following:
Turn off Face ID:
Hack the system:
-
If you’re really set on getting your iPhone to work with a face mask, you can attempt to trick the Face ID feature instead. Cover half your mouth with a mask, go to Settings > Face ID & Passcode > Set up an Alternate Appearance, and scan an alternate Face ID appearance.
Again, this official Apple Watch / Face ID feature isn’t available for everyone just yet — it’s only available as a developer beta. Until it’s publicly released, you’re stuck being unrecognizable to your iPhone until you enter that passcode.